See ProofForge in action
Walk through every step of the proofing workflow — from creating a job to getting your client's formal approval.
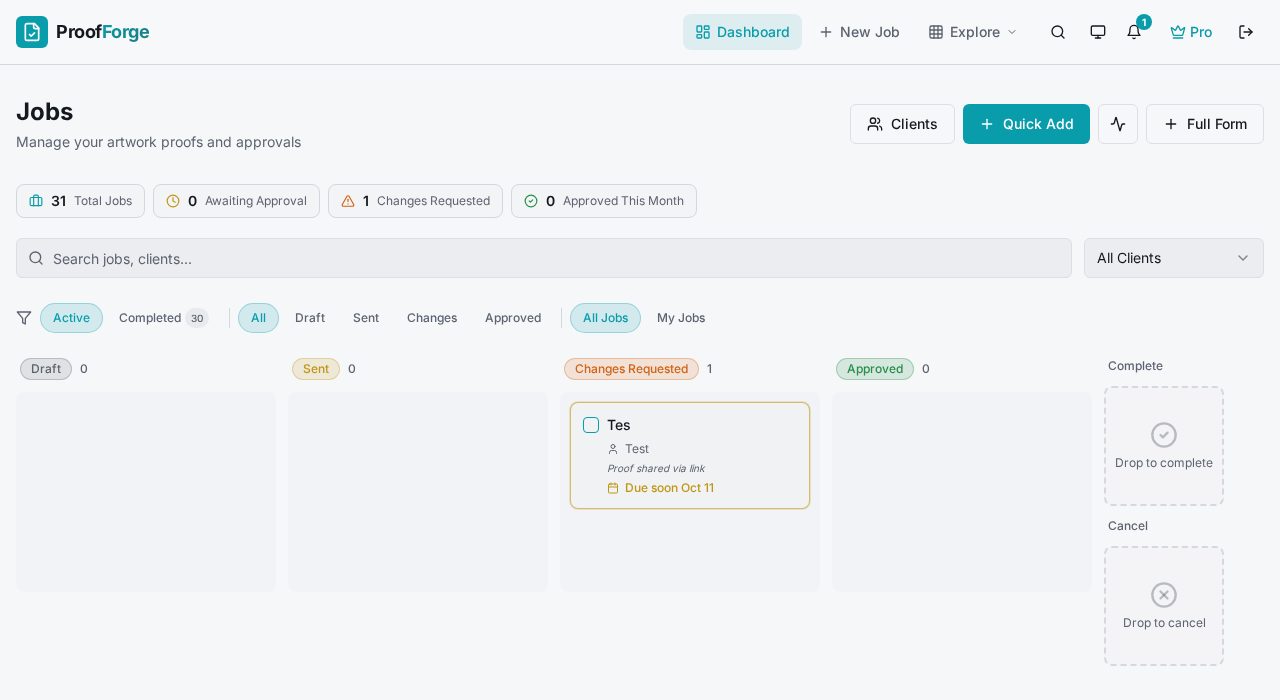
Your Dashboard
See every job at a glance with the Kanban board. Jobs move through columns — Draft, Sent, Approved, Changes Requested — so you always know what needs attention.
Create a Job
Start a new proof in seconds. Upload your artwork file, assign a client, and add production details like substrate, finish, and trim size.
Create a Job
Send the Proof
Generate a unique, branded proof link and email it to your client. They click the link and see your artwork on a professional proof page — no account needed.
Send the Proof
Client Proof Viewer
Your client sees the artwork in a clean, distraction-free viewer. They can zoom in, navigate pages, and see all the job details you've included.
Client Proof Viewer
Annotations & Feedback
Clients drop pins directly on the artwork to mark issues. Each annotation is numbered and can include text and file attachments.
Annotations & Feedback
Approval & Audit Trail
When the client approves, it's recorded with their name and a timestamp. Every action — upload, send, view, comment, approve — is logged in the audit trail.
Approval & Audit Trail
Version History
Upload a revised file and it's automatically versioned. Clients see clear v1, v2, v3 badges and can compare versions to see what changed.
Version History
Custom Branding
Make ProofForge yours. Upload your logo, set brand colours, add your company details, and customise every element of the proof page.
Custom Branding